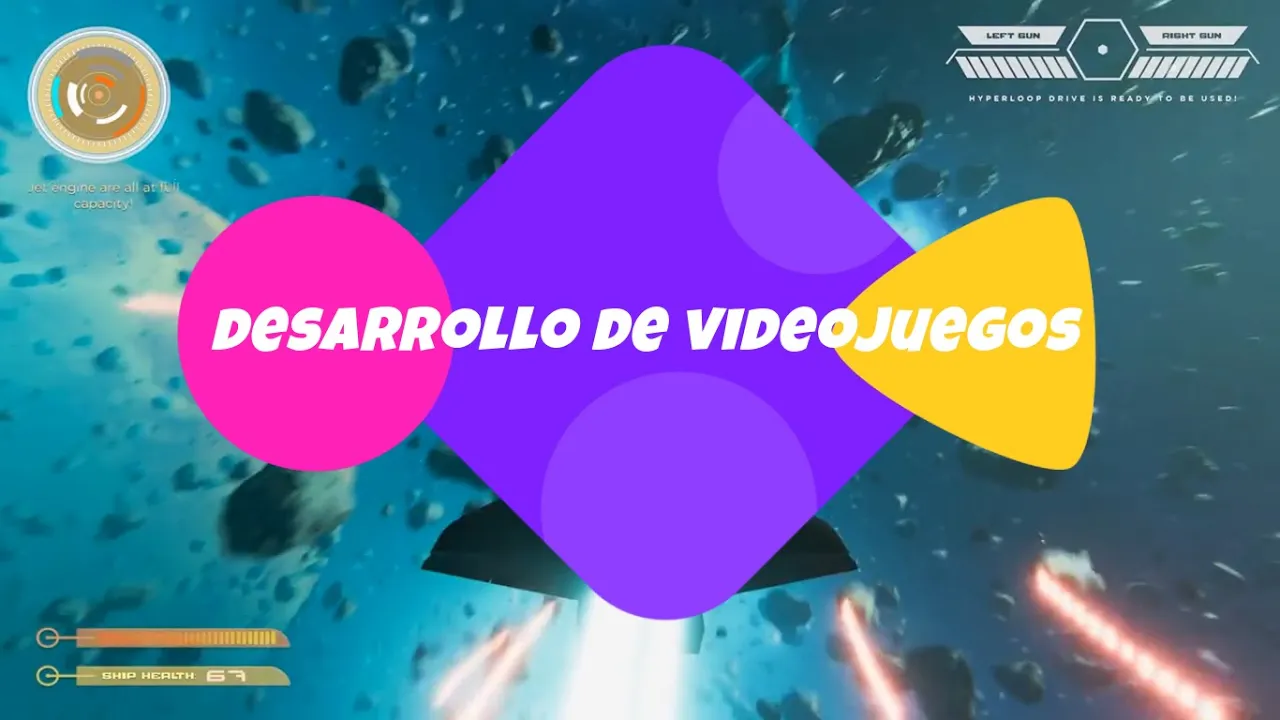
Esta es otra lección de fotón 2 para nuestra serie de tutoriales sobre cómo hacer un videojuego multijugador de Unity en Unity. En esta lección de fotones, aprenderemos sobre los conceptos de una función RPC. Después de esta lección, deberías poder hacer tu propia función RPC y aplicarla a cualquier mecánica multijugador dentro de tus juegos.
Para esta lección tutorial, sobre cómo hacer un juego multijugador en Unity usando el complemento Photon 2 usaremos las funciones RPC que hemos aprendido para hacer un control básico de disparos en primera persona que se sincronizará a través de la red. Este tutorial le enseñará cómo usar la función RPC del complemento Photon 2 en otros escenarios. Después de esta lección, debe tener una mejor comprensión de la función RPC y lo que pueden hacer también cuando usarlos. También aprenderás cómo tomar cualquier máquina de juego y hacer que funcione en un juego multijugador.
Comenzaremos creando variables en nuestro script de configuración de Avatar, el primero será la salud del jugador y el siguiente será el daño del jugador. Luego crearemos un nuevo script de C# llamado Avatar Combat. En este script, crearemos algunas variables nuevas. Luego inicializaremos estas variables. Luego crearemos una función de disparo y usaremos Raycast para hacerlo. Primero queremos verificar la entrada del jugador y luego crearemos nuestro Raycast. Si el Raycast golpeó a otro jugador, entonces queremos eliminar la salud de ese jugador. Luego guardaremos nuestro script C# y volveremos a Unity.
En Unity, crearemos y agregaremos una nueva cámara a nuestro objeto avatar de jugador. Luego necesitamos adjuntar nuestros nuevos scripts a sus respectivos objetos y establecer las variables.
Luego volveremos a nuestro script de combate Avatar y convertiremos este script en un script que funcionará en toda la red. Haremos esto creando una función RPC que sincronizará la salud del jugador a través de la red cuando el jugador haya recibido un disparo.
Si seguiste el video, entonces ahora deberías tener un controlador FPS básico que funcione y que conecte la salud del jugador cuando te disparen.
AvatarSetup
using Photon.Pun;
using System.Collections;
using System.Collections.Generic;
using UnityEngine;
public class AvatarSetup : MonoBehaviour
{
    private PhotonView PV;
    public GameObject myCharacter;
    public int characterValue;
    // Start is called before the first frame update
    void Start()
    {
        PV = GetComponent<PhotonView>();
        if (PV.IsMine)
        {
            PV.RPC("RPC_AddCharacter", RpcTarget.AllBuffered, PlayerInfo.PI.mySelectedCharacter);
        }
    }
    [PunRPC]
    void RPC_AddCharacter(int whichCharacter)
    {
        characterValue = whichCharacter;
        myCharacter = Instantiate(PlayerInfo.PI.allCharacters[whichCharacter], transform.position, transform.rotation, transform);
    }
}
MenuController
using System.Collections;
using System.Collections.Generic;
using UnityEngine;
public class MenuController : MonoBehaviour
{
    public void OnClickCharacterPick(int whichCharacter)
    {
        if (PlayerInfo.PI != null)
        {
            PlayerInfo.PI.mySelectedCharacter = whichCharacter;
            PlayerPrefs.SetInt("MyCharacter", whichCharacter);
        }
    }
}
PlayerInfo
using System.Collections;
using System.Collections.Generic;
using UnityEngine;
public class PlayerInfo : MonoBehaviour
{
    public static PlayerInfo PI;
    public int mySelectedCharacter;
    public GameObject[] allCharacters;
    private void OnEnable()
    {
        if (PlayerInfo.PI == null)
        {
            PlayerInfo.PI = this;
        }
        else
        {
            if (PlayerInfo.PI != this)
            {
                Destroy(PlayerInfo.PI.gameObject);
                PlayerInfo.PI = this;
            }
        }
        DontDestroyOnLoad(this.gameObject);
    }
    // Start is called before the first frame update
    void Start()
    {
        if (PlayerPrefs.HasKey("MyCharacter"))
        {
            mySelectedCharacter = PlayerPrefs.GetInt("MyCharacter");
        }
        else
        {
            mySelectedCharacter = 0;
            PlayerPrefs.SetInt("MyCharacter",mySelectedCharacter);
        }
    }
}
¿Quieres publicar tus propios proyectos?. ¡Pues que esperas!

ZoeGeop Technologies
MarketPlace
Crea tu cuenta
Suscríbete
[latest-selected-content output=»slider» limit=»4″ date_limit=»1″ date_start=»2″ date_start_type=»months» image=»medium» css=»four-columns tall as-overlay light» type=»post» status=»publish» taxonomy=»category» orderby=»dateD» show_extra=»category» slidermode=»fade» slideslides=»1″ slidescroll=»1″ sliderinfinite=»true» slidercontrols=»true» sliderauto=»true» sliderspeed=»3000″ chrlimit=»120″ url=»yes»]
Suscríbete a nuestro canal de YouTube
Síguenos en nuestro canal de YouTube dedicado a tecnología, marketplace de proyectos tecnológicos, cursos online y tutoriales de desarrollo de videojuegos. Ofrecemos consultoría en desarrollo de software, marketing online, servicios de TI, hosting web, dominios web y más.
Siguenos en Patreon
Si quieres contribuir con cualquier aporte o donación hacia nuestros proyectos y el canal puedes hacerlo a través de nuestra cuenta en Patreon.